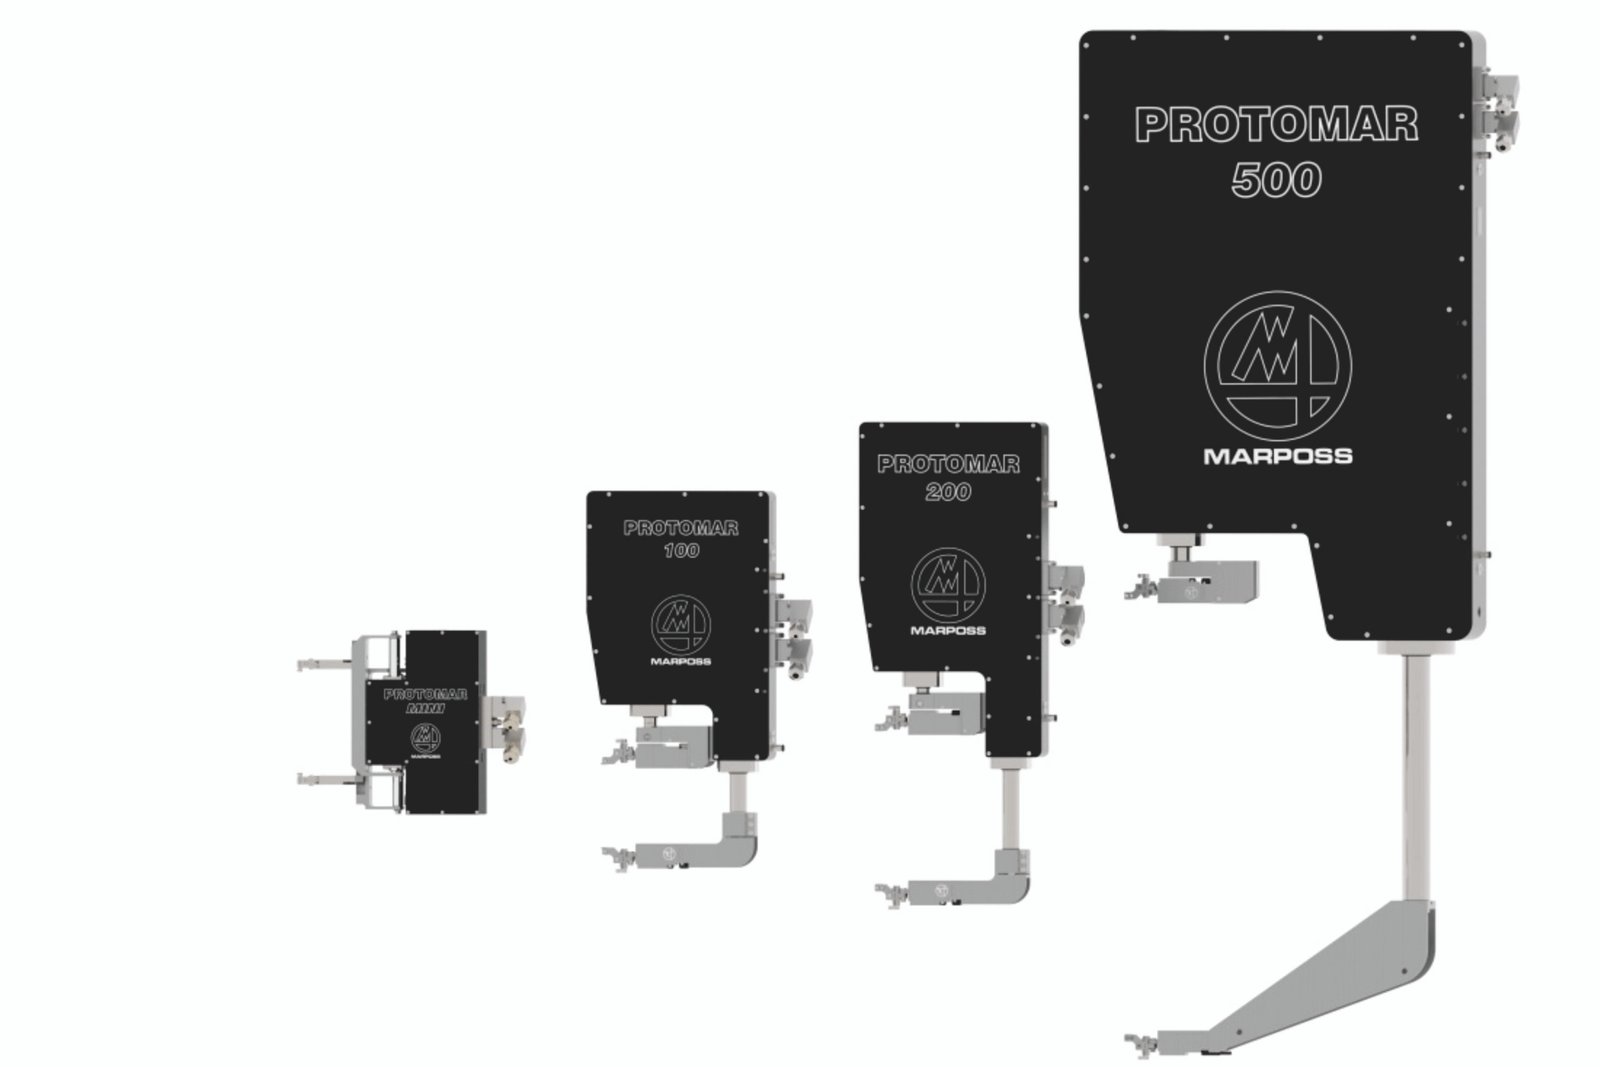
Description
During the grinding process, the measurement uses the nominal Master value, acquired during the zero-setting procedure, as its reference value. In this way it’s not necessary to use a master part for each diameter to be ground.
The diameter measurement value is obtained combining the two values detected by the measuring cells and the position of the incremental optical transducers mounted inside the head body. Upon completing each grinding cycle, once the programmed diameter has been obtained, the system opens the contacts either in the safety position (maximum aperture), or so that the aperture is optimised for the value of the subsequent diameter.
In order to reduce cycle time, the control unit optimises the cell holder arms movement speed according to the processing phases, so that it’s at the maximum value during the opening/closing movements. During the machining process, the cell closure speed is regulated, according to the amount of stock removal detected, so that the necessary contact between the measuring contact and the part is always guaranteed. This also protects the cells against the risk of impact in the case of interrupted surfaces.


Reviews
There are no reviews yet.