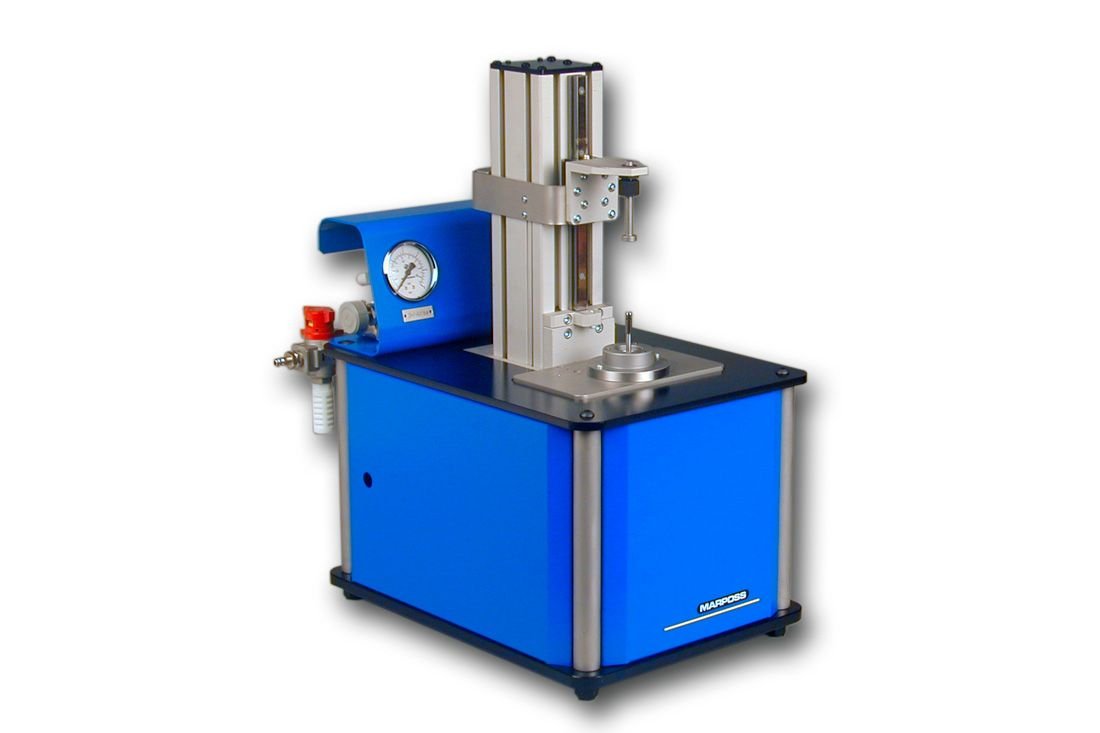
Description
APPLICATION FIELD
- Manually loaded and unloaded Quality control stations beside a production line, Pre-process measurement, for match grinding applications
- Post-process measurement, with feedback compensation to a machine
- Stations for classifying parts
- Measurement stations in selective assembly lines
MEASURING TECHNOLOGY
- Pneumatic plug gauge for bore inspection (Annular or direct jet types available)
- Pneumatic ring gauge for outer diameter inspection (Annular or direct jet types available)
- Special measuring solutions with contact-electronic plug or ring gauges
MEASURING PRINCIPLE
A gauging plug is moved at a constant speed by a motorized slide inside the bore to be gauged and the diameter reading is continuously stored. For gauging external diameters, generally the part itself is moved within the fixed ring gauge. A Marposs GagePod 4M8 acquisition module is used to control the movement of the NC slide and to continuously acquire the diameter values during the scanning stroke. The measurement values are shown together with the graphic profile on the screen of an E9066T or E9066E Industrial computer.
MEASURED CHARACTERISTICS
- Max, min, average inner and outer diameters
- Inner and outer diameter in local programmable positions
- Taper, barrel shape, other shape errors due to diameter variation along the axis
- Max, min, average matching clearance
- Clearance in local programmable positions


Reviews
There are no reviews yet.